Wildernest Hive

One of the many reasons Jay and I decided to purchase land with so much acreage was so that we could eventually build a little homestead - a homestead where we could teach our future children the importance of self sustainability, hard work, and the growing up wild lifestyle we wish for them to have.
Back in December, after a farmer’s market I sold ornaments in, I started conversing with local beekeepers about their hobby and the honey that I was purchasing. At the time, I had recently made the switch from way too much sugar in my tea, to strictly 1 teaspoon of local honey. The thought of cultivating my own honey, while also helping the declining bee population and getting our future kids involved in the process, seemed like something worth considering.
A few weeks later, I found myself signing up for a local “Bee School,” purchasing the $400 worth of hive components, and (in true Kelsey fashion) doing a deep dive into the research and education that would aid me in keeping a healthy, successful hive.
During the couple months of Bee School, we learned an overwhelming amount of information - interworkings of the hive, the roles of each bee, disease and illness, and of course the weekly/monthly “steps” it takes to get your new hive established and growing. If you’re ever considering taking up Beekeeping, my #1 piece of advice would be to join your local association and take the Bee School (typically held January-April before the spring season begins). Believe me when I say it’s a LOT to learn, and not just something to learn on the fly.
Sometime in March, the parts to my hive were delivered, and our class instructors encouraged us to get started on the setup and build ASAP. This consisted of putting together the frame boxes (aka “Supers”), gluing and nailing 40 frames, installing 40 sheets of wax foundation to said frames, and painting your hive boxes with exterior paint to ensure a longer lifespan for the wood.


It felt a lot more “real” when my hive was finished and ready for its occupants!

All that was left for preparation was the hive stand, which elevates the hive off of the ground to protect it from predators (skunks, weasels, etc) and other insects. The majority of beekeepers will put their hive on cinderblocks or fashion something simple out of old scrap wood; others will take it a step further and build something a little more robust, potentially for multiple hives. Being the perfectionist I tend to be, married to a professional carpenter, it's probably easy to guess which I went with.


Despite being given bits and pieces from 3 different Pinterest images and my horrendous attempt at proper dimensions, my talented husband still, somehow, pulled it off and built me exactly what I was envisioning in my head.


The week my bees were due to arrive, we took the hive stand to our land in an attempt to set it up in its permanent location. I had been staking out spots for months and determined that the replication area, which the sellers had planted due to destruction of wetlands to put in the driveway, checked off all the requirements. It was one of the only places that got direct sunlight since the trees around it were cleared, backed right up to a large hill/cliff that would provide some wind protection, was directly on top of and near a water source, and was also surrounded by delicious blueberry bushes (an added bonus - blueberry honey, anyone?).
Unfortunately for us, the downed wires and trees from the storm back at the end of March, that I had already called Eversource about 3 times, still hadn't been taken care of. Two massive trees laid across the replication area, blocking a direct path to the hive's proposed location. Additionally, another massive tree was blocking driveway access for my husband and our two friends to bring the 300+ pound hive stand closest to the replication area, making the path they did have to carry it to a dangerous one.


We set the stand down in an area that was not only too close to the driveway (posing a future issue when construction trucks would be going up and down the driveway and disturbing them during the building of our house), but it was right on the edge of a short cliff, surely a subject to erosion or collapse at some point in time.
So I spent the next day on the phone with Eversource yet again, determined to get answers for what we were starting to feel was a big mistake.
It took multiple calls, multiple transfers back and forth, and choking back a few tears, but I was finally able to get to the route of the problem - they had the wrong address.
All of this time, Eversource has been going out to HOUSE #10 instead of LOT #10, discovering zero issues with house 10's poles and wires, and going about their merry day without ever calling us back. Had Eversource actually called us with a status update or follow up about our emergency request, we would have had this fixed weeks ago.
Despite the frustrations, the MVP throughout all of this was a man named Mike, who was the dispatcher at Eversource's control center. He was kind, compassionate, and went the extra mile to ensure the employee taking over his shift that day knew about our wires, which he had expedited and had a tree crew go out to clear that very same day. At my request for an update, he later called me on his personal cell phone, after his shift, to tell me he was 99% sure they were out there, and that he wished my bees the best.
He was the shining light in the very dark perception we have had of Eversource, and gave me the confidence that we could finally put all of these outstanding questions behind us (like whether or not the poles were still our responsibility) to ensure we move forward.
With the trees out of the way, Jay and I spent the Friday before the bees' arrival moving the hive stand to its permanent, set-back-from-the-driveway location. It was ready to welcome its occupants.

On May 4th, I picked up my package of bees, which contained approximately 30,000 workers, a few drones (males), and their queen. Putting the package in the front seat of my car and driving away was an experience not many people will get in their life time, and it was hard not to think of things like “I wonder if Mieneke will expedite my oil change if I stop there on the way?” or “Yes hello officer, yes those are bees.”

Interesting fantasy scenarios aside, we made it to the hive in one piece and got started with the installation.
Getting the bees into the hive started with the queen, who came inside of her own, smaller cage with a few “attendant” bees that tended to her needs. Getting the queen cage out of the package consisted of opening the top, removing the can of sugar syrup that was blocking the hole, pulling her out, and then quickly covering the opening back up so the rest of the colony stayed put. A few stragglers managed to escape upon opening, and to me it felt like a whole lot as I scrambled the get the queen cage out, but the pheromone the queen gives off kept them around. Once I had a hold on the queen cage, I removed the cork covering one of the openings to reveal the same hole blocked by hardened sugar - the queen and the rest of the bees would eventually eat away at this candy, thus releasing her into the hive to start doing her job. I secured her cage candy side up to one of the center frames with a rubber band, and was ready to get the rest inside.
Nothing struck fear into my heart more than hearing our instructor tell us to “just bang the package of bees down on a hard surface so that the cluster falls to the bottom.” Uh, what? You’re telling me to forcefully shake and bang a swarm of bees, and you’re confident they won’t attempt a murderous revolution on my ass? Good enough for me!
I removed the cover I had slipped over the opening, turned the cage upside down, and quite literally smacked the cage on the top of the hive. The sound they collectively made triggered my fight or flight response, but I (stupidly?) continued on and watched as they quite literally were pouring into the hive. I had to bang and shake the package a couple of times to get the majority out, but as soon as they were inside, they were already focused on the frames and checking their queen and couldn’t care less about me.
It took about 20 minutes overall, but my bees were exploring their new home, feeding from the bucket of sugar syrup I supplied to get them started, and hopefully settling in nicely.
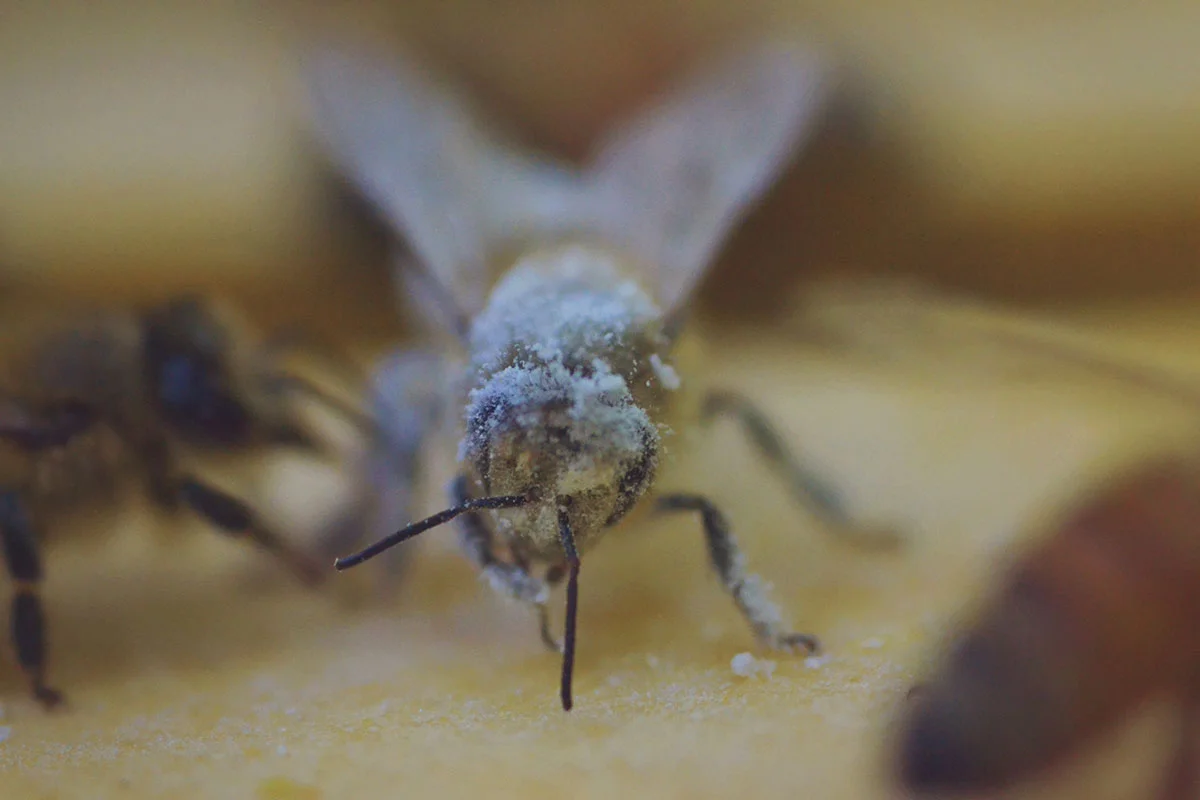
For the next 1.5 hours that I was there, I sat in front of the hive to photograph and observe them with my macro lens. It was fascinating to watch their interactions with one another and the adorable bee things they were all doing. Over the next few weeks I’ll get to observe the queen to make sure she’s out of the cage laying eggs, and keep track of the comb the workers will build up.
Having these little guys on our land feels like one step closer to our Wildernest dream, and I’m so glad I took the plunge into beekeeping.


Professional web developer & designer with a passion for crafting, DIY, and all things Pinterest.